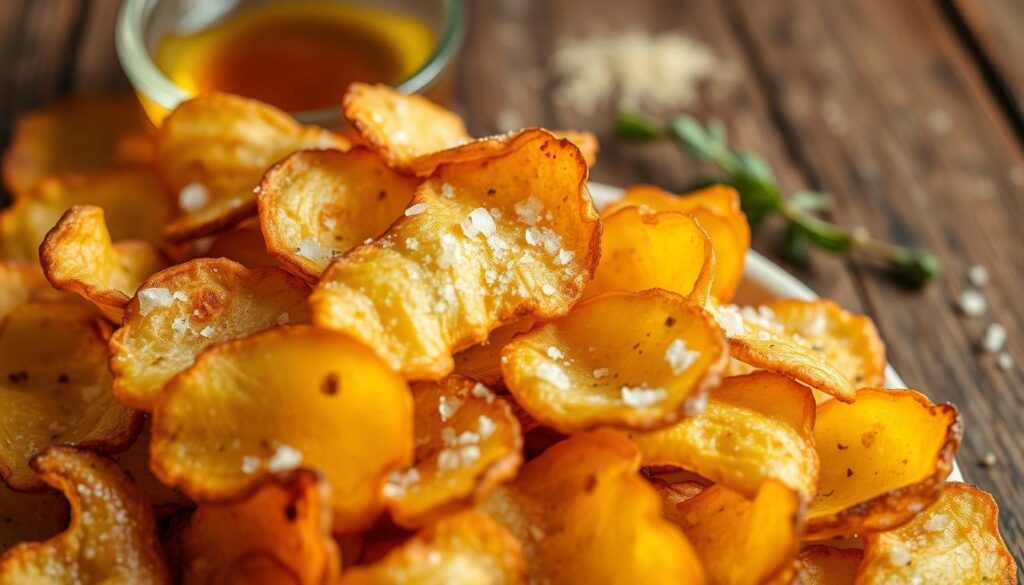
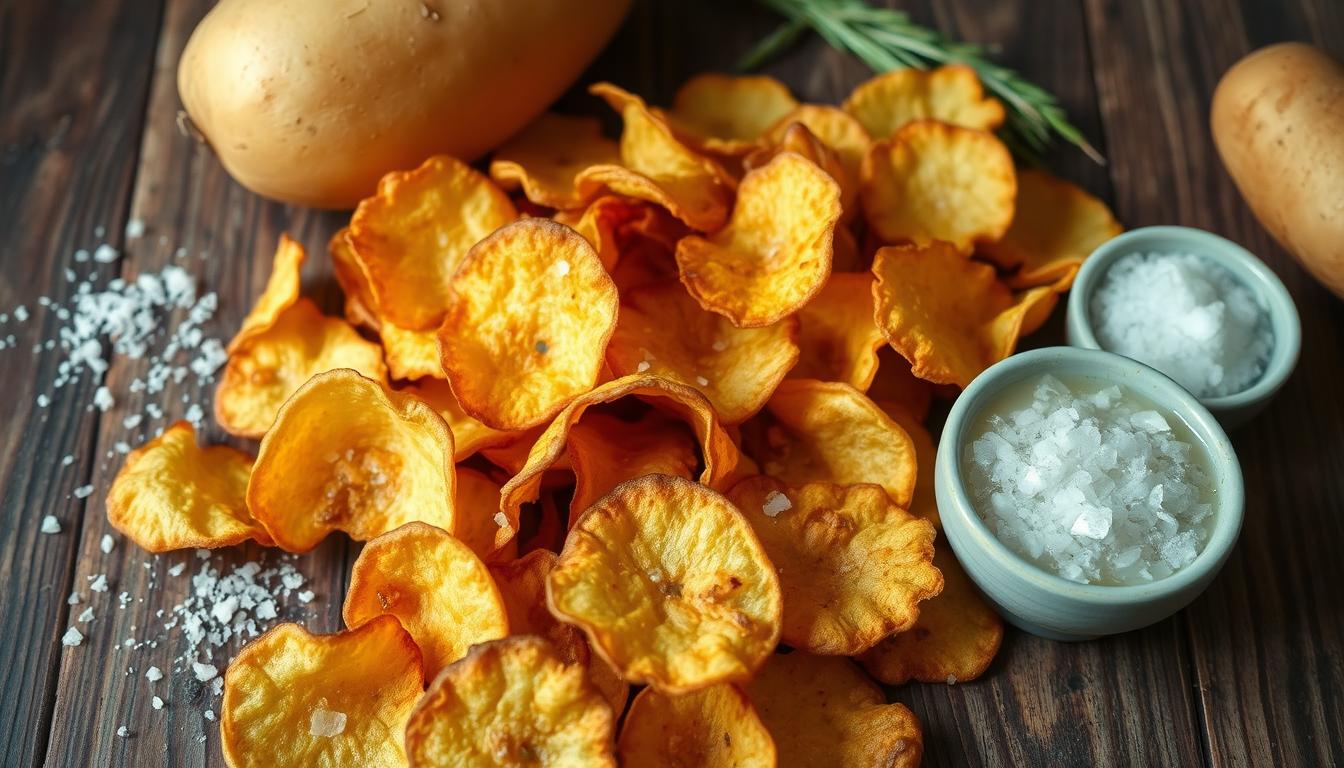
Homemade potato chips are a favorite snack for many. They offer a satisfying crunch and a variety of flavors. Salt and vinegar chips are especially loved for their tangy taste. Making these chips at home lets you choose the ingredients and enjoy the satisfaction of creating something delicious.
When you make salt and vinegar chips, you get a burst of flavor. It’s a mix of crispy potato slices, tangy vinegar, and just the right amount of salt. Whether you want a classic snack or a new culinary adventure, making these chips is a fun and rewarding experience.
Key Takeaways
- Homemade potato chips offer a satisfying crunch and versatile flavor
- Salt and vinegar chips provide a tangy and irresistible taste
- Making chips at home allows you to control the ingredients
- The process of creating homemade salt and vinegar chips is rewarding
- Mastering this snack can be a delicious culinary adventure
Understanding the Art of Homemade Potato Chips
Exploring homemade potato chips is a fun journey. It’s great for both snack lovers and kitchen newbies. Learning to make crispy, tasty chips at home is very rewarding. This section will cover the basics and the science behind making homemade snacks that taste amazing.
The key to homemade potato chips is the potato and the right preparation. Knowing the potato chip basics lets you bring out the snack’s best. From cutting the potatoes to frying or baking, each step is important for the final taste.
“The true art of making potato chips lies in the perfect balance of crispness, flavor, and texture.”
We’ll dive into the key ingredients, tools, and steps to make salt and vinegar potato chips. Get ready for a culinary adventure that will make your taste buds happy!

Essential Ingredients for Salt and Vinegar Chips
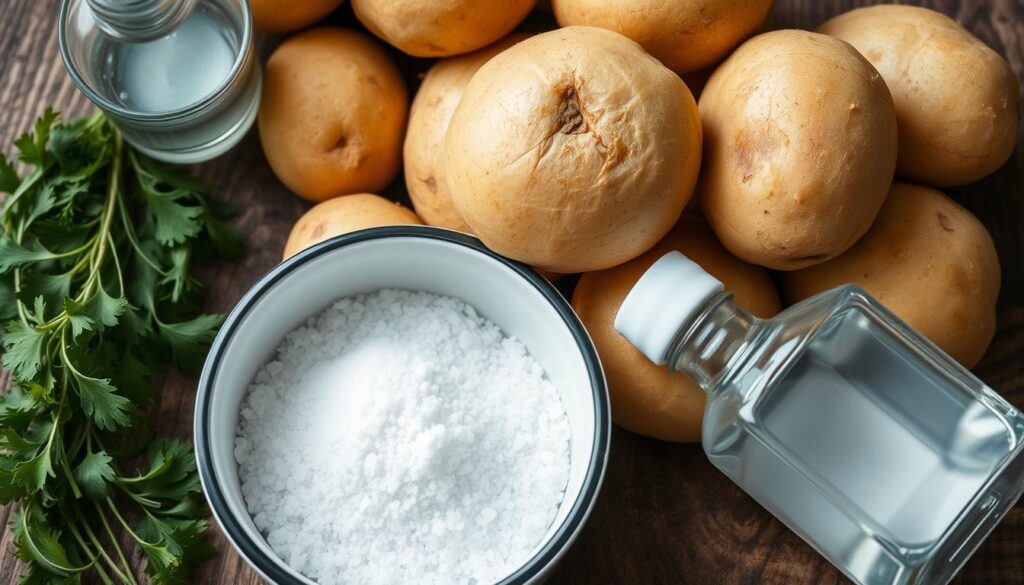
Making perfect salt and vinegar chips at home needs more than just potatoes and seasonings. You need to pick the right ingredients for the best flavors and texture. Let’s explore the key ingredients that will make your homemade chips amazing.
Types of Vinegar to Consider
The vinegar you choose greatly affects the taste of your chips. White vinegar is a classic, but you can try other types for different flavors:
- Malt Vinegar – Made from barley, it has a rich, sweet flavor that goes well with salt.
- Apple Cider Vinegar – This vinegar is tangy and fruity, adding a unique twist to your chips.
- Red Wine Vinegar – Its bold flavor makes your chips taste more sophisticated.
Best Potatoes for Crispy Chips
Choosing the right potato is key for crispy chips. Here are some top picks:
- Russet Potatoes – High in starch, they make chips that are crispy and fluffy.
- Yukon Gold Potatoes – They offer a balance of crispiness and creamy texture.
- Red Potatoes – Thin skins and waxy texture make them crunchy.
Salt Selection Tips
The salt you use can change the flavor of your chips. Try different gourmet salt options:
| Salt Variety | Flavor Profile | Recommended Use |
|---|---|---|
| Himalayan Pink Salt | Delicate, slightly sweet, and mineral-rich | Finishing salt for a touch of elegance |
| Fleur de Sel | Delicate, crunchy, and slightly briny | Ideal for enhancing the vinegar flavor |
| Smoked Salt | Bold, smoky, and savory | Provides a unique depth of flavor |
By choosing the right vinegar, potato, and salt, you’ll make delicious homemade salt and vinegar chips. They’ll impress your taste buds.

Required Kitchen Tools and Equipment
To make salt and vinegar chips at home, you need the right tools. You’ll need gadgets for making chips and basic kitchen tools. These essentials are key to getting crispy, tasty chips.
Here are the main items you’ll need for making chips:
- A high-quality mandoline slicer or food processor with a slicing blade – These gadgets help you get even, thin potato slices. This ensures your chips cook evenly and stay crispy.
- A deep fryer or heavy-duty Dutch oven for frying – Keeping the oil at the right temperature is important. A dedicated deep fryer or a sturdy pot with a thermometer helps you achieve perfect fried chips.
- Sturdy baking sheets or rimmed sheet pans for baking – For a healthier option, bake your chips on oiled baking sheets. This method also yields great results.
- A salad spinner or paper towels for drying potatoes – It’s crucial to dry your potato slices well before frying or baking. This step is essential for achieving crispiness.
- A spice grinder or mortar and pestle for grinding salt – Freshly ground salt adds more flavor to your chips. Having a tool to grind salt to the right texture is recommended.
| Kitchen Gadget | Purpose |
|---|---|
| Mandoline slicer | Uniform, thin potato slices |
| Deep fryer | Precise temperature control for frying |
| Baking sheets | Baking chips for a healthier option |
| Salad spinner | Drying potato slices before cooking |
| Spice grinder | Freshly grinding salt for seasoning |
Having these kitchen gadgets, chip-making tools, and other food preparation equipment will help you make delicious homemade salt and vinegar chips.
Preparing Your Potatoes Like a Pro
To make delicious salt and vinegar chips at home, you need to prepare your potatoes right. This means slicing them evenly and removing excess starch. These steps help your chips turn out crispy and full of flavor.
Proper Slicing Techniques
Start by picking the right potatoes for chips. Choose Russet or Yukon Gold potatoes because they’re high in starch and low in moisture. Use a sharp knife or mandoline to cut the potatoes into thin, even rounds, about 1/8-inch thick. This ensures your chips cook evenly and get that perfect crunch.
Soaking Methods
- After cutting, put the potato rounds in cold water to get rid of extra starch. This helps prevent the chips from getting too greasy or soggy when fried.
- Soak the potatoes for at least 30 minutes, changing the water a few times to remove starch well.
- Finally, dry the potato slices with paper towels or a clean kitchen towel before frying or baking.
Drying Process
Drying the potato slices properly is key for crispiness. After drying them well, lay them out on a baking sheet covered with paper towels or a clean kitchen towel. Let them air dry for at least 30 minutes, or until they’re completely dry to the touch.
By using these potato preparation methods, you’re on your way to making homemade salt and vinegar chips that stand out. Stay tuned for the next steps in making these tasty chips!
The Perfect Vinegar Solution Mixture
Making the perfect vinegar seasoning is key for great chip seasoning. The right vinegar mix gives your salt and vinegar chips a delicious taste.
Choosing the right vinegar is important. Use distilled white vinegar or apple cider vinegar for a clean taste. Stay away from balsamic or red wine vinegar, as they can be too strong.
To make the best vinegar seasoning mix, follow these steps:
- In a bowl, mix 1 part distilled white vinegar or apple cider vinegar with 2 parts water. This ratio balances tanginess and bitterness.
- Add a pinch of salt to the mix. It enhances the flavor infusion.
- Stir until the salt dissolves. This ensures even chip seasoning.
The amount of vinegar seasoning needed depends on the potatoes. Adjust the mix to coat each chip well with that salt and vinegar flavor.
“The key to making the perfect vinegar seasoning is finding the right balance between acidity and sweetness. It’s all about experimentation and fine-tuning until you achieve that irresistible flavor infusion.”
Deep Frying vs. Baking Methods
There are two main ways to make tasty salt and vinegar chips at home: deep frying and baking. Each method has its own benefits and things to think about.
Oil Temperature Control
For deep frying, keeping the oil at the right temperature is key. It should be between 350°F to 375°F. If it’s too hot, the chips will burn outside but stay soft inside. If it’s too cold, they’ll be greasy and soggy.
Baking Time and Temperature
To bake your chips, set your oven to about 400°F. This heat helps them get crispy. Baking usually takes 20-30 minutes. Make sure to flip them halfway for even cooking.
Signs of Perfect Crispiness
- Golden-brown color with no signs of burning
- Audible crunch when you bite into the chip
- Minimal greasiness or sogginess
No matter how you cook, watch your chips closely. Adjust the time and temperature as needed. With practice, you’ll make crispy, tasty salt and vinegar chips at home.
| Deep Frying | Baking |
|---|---|
| Cooks chips faster | Healthier option with less oil |
| Requires more active monitoring of oil temperature | Easier to control time and temperature |
| Produces a crispier, greasier chip | Yields a slightly less crispy but still flavorful chip |
Savor boom boom shrimp while enjoying creamy coconut shrimp as a side.
Mastering the Salt and Vinegar Seasoning Process
To get the perfect salt and vinegar flavor on homemade potato chips, you need to be careful. It’s all about mastering the seasoning techniques. This ensures the flavor coating and distribution are even on every chip.
When to add the seasoning is very important. For the best taste, wait until your chips have cooled a bit. This way, the flavors stick well to the chips without getting lost in heat.
- First, mix your salt and vinegar seasoning in a small bowl. A good mix is 1 part vinegar to 2 parts salt. But, you can adjust it to your liking.
- Then, toss the cooled chips in the seasoning mix. Make sure to evenly distribute the flavors.
- To add more flavor, sprinkle the seasoning on the chips and mist with vinegar. This helps the flavors stick to the chips better.
Mastering the salt and vinegar seasoning process is all about finding the right balance and timing. Try different techniques and ingredient ratios. This way, you’ll find the perfect flavor coating that will make your taste buds dance.
“The secret to great salt and vinegar chips is all in the seasoning. Get it right, and you’ll have a snack that’s impossible to put down.”
Troubleshooting Common Issues
Making salt and vinegar chips at home is rewarding but comes with challenges. You might face soggy chips, burning, or uneven seasoning. We’ll cover these issues and offer solutions for crisp, tasty chips every time.
Dealing with Soggy Chips
Soggy chips can be a big problem. It often happens because the potato slices weren’t dried enough. Make sure to dry the slices well before frying or baking. Also, soaking them in cold water longer and drying them for more time can help.
Preventing Burning
Burnt chips can ruin the taste and texture. To prevent this, keep the oil temperature right when frying. It should be between 325°F and 350°F. For baking, watch the chips closely and take them out when they’re crispy.
Fixing Uneven Seasoning
Getting even seasoning on chips can be hard. To fix this, toss the hot chips in seasoning in small batches. This ensures the seasoning spreads evenly. You can also try misting the chips with vinegar before adding salt.
By tackling these common issues, you’ll get better at making homemade salt and vinegar chips. With practice and patience, you’ll impress everyone with your perfectly crispy chips.
Storage Tips for Maintaining Crispiness
Keeping your homemade salt and vinegar chips fresh and crispy is key. Whether for a party or a solo snack, the right storage makes all the difference. Here are some tips to keep your chips crunchy and delicious.
Airtight Containers for Crisp Containment
Choosing the right containers is crucial for crispiness. Use airtight jars, resealable bags, or rigid plastic containers. Stay away from flimsy bags or open bowls to prevent air from making your chips soggy.
Moisture Management Tricks
Moisture is the enemy of crispiness. To keep chips dry, add a silica gel packet or a paper towel to your container. These help absorb moisture, keeping your chips crunchy.
Proper Portioning and Consumption
Storing chips in small amounts is better. This prevents them from getting stale or soggy. Portion chips into single-serving containers or bags. Enjoy each bite with maximum crispiness and freshness.
| Storage Method | Estimated Shelf Life | Crispiness Preservation |
|---|---|---|
| Airtight Container | 3-5 days | Excellent |
| Resealable Bag | 2-3 days | Good |
| Open Bowl | 1-2 days | Poor |
Follow these storage tips to enjoy your homemade chips for days. Chip storage, preserving crispiness, and homemade snack storage are easy with the right knowledge. Your crispy creations will be a hit at any event.
Healthier Variations and Alternatives
Looking for a guilt-free way to enjoy salt and vinegar chips? We’ve got you covered! Our healthier options will satisfy your cravings without sacrificing taste or nutrition.
Air Fryer Method
The air fryer is a game-changer for making crispy, oil-free snacks. To make healthy chips at home, toss sliced potatoes in oil, season with salt and vinegar, and air fry until crispy. This method gives you the crunch without the greasiness of deep-frying.
Low-Sodium Options
For those watching their sodium, low-sodium recipes for air fryer snacks are great. Use herbs, spices, and a splash of vinegar for flavor without salt. This way, you can enjoy the taste you love while keeping sodium levels low.
Choose any of these healthier options, and you’ll snack guilt-free. You’ll satisfy your cravings with ease.
Pairing and Serving Suggestions
Make your homemade salt and vinegar chips even better by adding tasty sides. These chips are great with many flavors and drinks. They’re a versatile snack that everyone loves.
Try classic chip pairings to bring out the chips’ tangy and salty taste. Creamy dips like ranch or blue cheese are perfect. For something different, serve them with tangy snack accompaniments like pickled veggies or lemon-garlic aioli.
Think beyond just snacking with your chips. Use them to add crunch to salads, soups, burgers, and sandwiches. The options are endless!
Pair your chips with a cool drink for a special treat. The vinegar taste goes well with craft beer or lemonade. White wine or zesty cocktails also pair nicely.
Homemade salt and vinegar chips are fun to mix and match. Try different chip pairings, snack accompaniments, and serving ideas. Find your favorite combos for a memorable snacking time.
FAQs
What are the essential ingredients for making salt and vinegar chips at home?
To make salt and vinegar chips at home, you need potatoes, vinegar, and salt. Use white vinegar, apple cider vinegar, or malt vinegar. You’ll also need high-heat cooking oil or baking equipment.
What are the best types of vinegar to use for salt and vinegar chips?
White vinegar, apple cider vinegar, and malt vinegar are great choices. Each gives a different flavor. Try them out to see what you like best.
What are the ideal potato varieties for making crispy homemade chips?
Russet, Yukon Gold, or Kennebec potatoes are best for crispy chips. Avoid waxy potatoes for a softer chip.
What kitchen tools and equipment are needed for making salt and vinegar chips?
You’ll need a sharp knife or mandoline for slicing. A deep fryer or heavy pot is needed for frying. Baking sheets and paper towels or a cooling rack are also important.
How should I prepare the potatoes for the best texture and crispiness?
Slice the potatoes evenly and soak them in water. This removes excess starch. Dry the slices well before cooking for crispiness.
What’s the best way to create the perfect vinegar solution for flavoring the chips?
Mix vinegar and water in a 1:1 ratio for the vinegar solution. Adjust the amounts for your taste. Soak the potato slices in it before cooking.
Should I fry or bake the salt and vinegar chips?
Both methods work well. Frying makes chips crispy and indulgent. Baking is healthier with less crunch. Choose based on your preference and diet.
How do I properly season the chips with salt and vinegar?
Toss the hot chips in the vinegar solution first. This absorbs the flavor. Then, sprinkle salt evenly for a balanced taste.
How can I troubleshoot common issues like soggy or unevenly seasoned chips?
Dry the potato slices well to avoid sogginess. For uneven seasoning, toss again with vinegar and salt. Adjust cooking time and temperature for burnt chips.
What are some tips for storing homemade salt and vinegar chips to maintain their crispiness?
Store cooled chips in an airtight container at room temperature. Don’t refrigerate to keep them crisp. Use a paper towel to absorb moisture.
Conclusion
Making delicious salt and vinegar chips at home is a fun and rewarding task. You’ve learned how to pick the right potatoes and season them perfectly. Now, you can make homemade chips that are just as good as store-bought ones.
The secret to great homemade chips is in the details. Try out different chip-making tips and enjoy making your own DIY snacks. This way, you can create chips that are both tasty and unique.
Whether you like the classic salt and vinegar taste or want to try healthier options, you’re all set. Enjoy the process, have fun, and share your delicious homemade chips with others. They’ll love them!
Don’t be shy to try new things and find the flavor you love. The fun of making homemade chips is in the journey. And the tasty results will make it all worth it. Happy chip-making!


2 thoughts on “How to Make Salt and Vinegar Chips at Home”