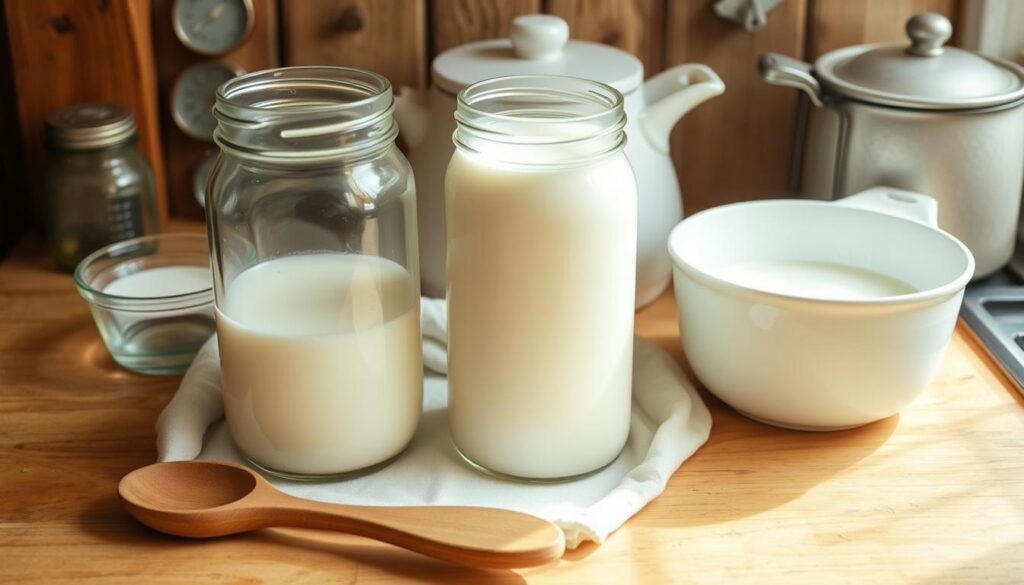
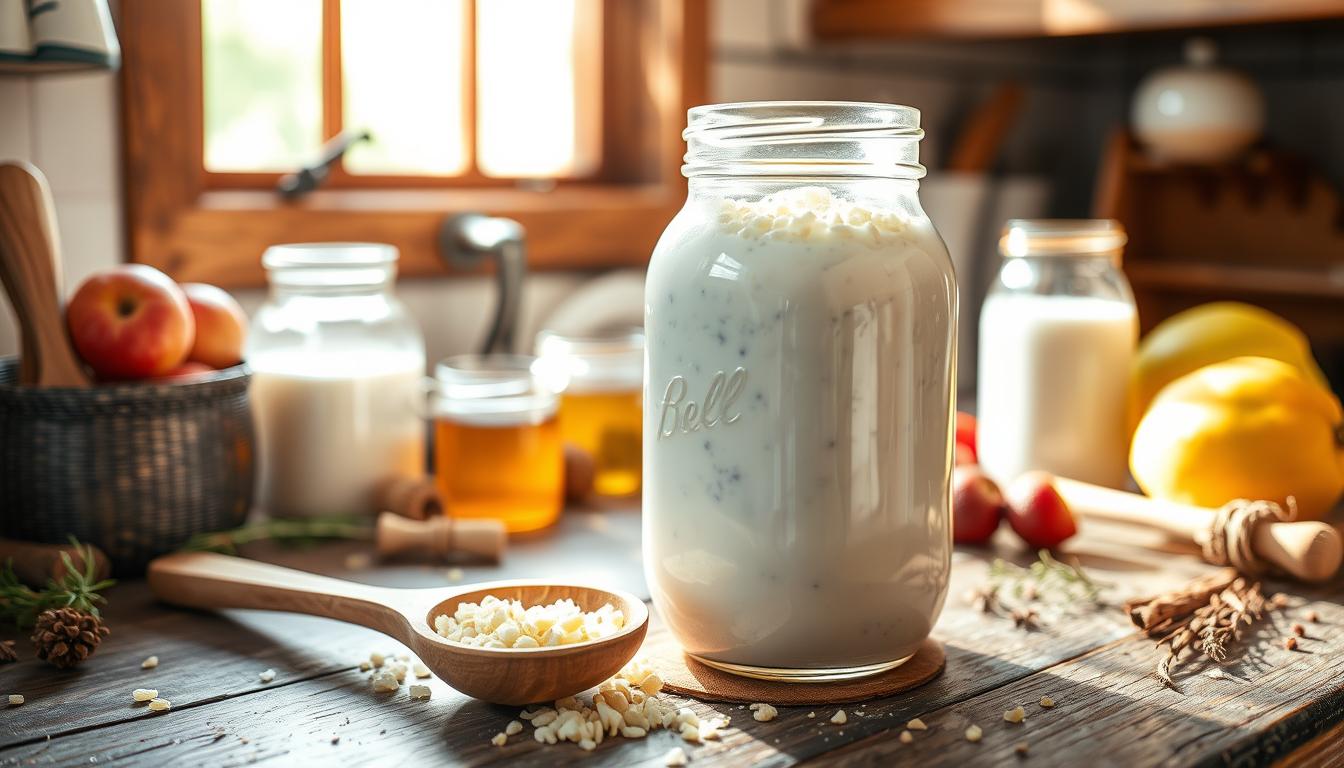
Making your own kefir is a fun journey into probiotic drinks. This fermented milk is a tasty, healthy choice over yogurt from the store. It’s easy to make at home, perfect for health lovers or food explorers.
Kefir is packed with good stuff for your body. It’s a probiotic drink with special bacteria and yeasts that help your gut. Your homemade kefir can be a key part of making meals and drinks that are good for your gut.
Key Takeaways
- Kefir is a nutrient-rich probiotic drink easily made at home
- Minimal equipment is required to start your fermentation process
- Homemade kefir offers superior nutritional value compared to store-bought versions
- The fermentation process is straightforward and adaptable
- Kefir supports digestive health and immune system function
Understanding Kefir Yogurt and Its Health Benefits
Kefir is a fermented drink that’s more than just yogurt. It’s full of probiotic strains that boost your gut health and overall wellness.

Kefir is packed with nutrients that help your body heal naturally. Its unique mix of microbes makes it great for improving gut health.
Probiotics and Gut Health Benefits
The probiotics in kefir are amazing for your digestive system. They help:
- Balance intestinal microflora
- Support immune system function
- Reduce inflammation
- Improve nutrient absorption
“Kefir is like a superhero for your gut, delivering powerful healing properties with every sip.” – Nutrition Expert
Nutritional Value of Kefir
Kefir is more than just probiotics. It’s a drink full of nutrients:
| Nutrient | Amount per 6 oz |
|---|---|
| Protein | 6 grams |
| Calcium | 20% Daily Value |
| Vitamin B12 | 15% Daily Value |
| Phosphorus | 15% Daily Value |
Comparing Kefir to Regular Yogurt
Kefir and regular yogurt are both fermented, but kefir has more to offer. It has superior probiotic diversity. Regular yogurt has 2-3 strains, while kefir has up to 30.
- More diverse probiotic strains
- Higher protein content
- Enhanced digestibility
- Greater nutrient bioavailability
Essential Ingredients and Equipment for Making Kefir
Starting your kefir-making journey needs specific ingredients and tools. Quality kefir grains are key to successful fermentation. They turn milk into a probiotic-rich drink. Let’s look at what you need to make tasty homemade kefir.

- Live kefir grains (active and healthy)
- Milk for kefir (whole milk works best)
- Glass fermentation jars
- Plastic or wooden stirring utensils
- Breathable covering (like a coffee filter or cloth)
- Mesh strainer
Choosing the right kefir grains is important. Look for fresh, active cultures that are creamy and cluster-like. You can also try goat or sheep milk instead of cow’s milk.
| Equipment | Purpose | Recommended Type |
|---|---|---|
| Fermentation Jars | Culturing kefir | Wide-mouth glass mason jars |
| Strainer | Separating grains | Plastic or stainless steel mesh |
| Storage Containers | Storing finished kefir | Glass bottles with tight lids |
“The quality of your kefir-making tools directly impacts the success of your fermentation process.” – Kefir Enthusiasts Handbook
Invest in dedicated kefir-making tools to avoid cross-contamination. Clean equipment is key to making perfect homemade kefir.
How Do You Make Kefir Yogurt: Basic Process Overview
Making homemade kefir is a fun journey. It starts with simple milk and ends with a probiotic-rich yogurt. This process involves several important steps.
Creating kefir at home is a mix of science and tradition. To succeed, you need to learn key techniques and understand the fermentation steps.
Preparing Your Workspace
A clean workspace is key for making kefir. You’ll need a few tools:
- Glass or ceramic fermentation container
- Plastic or wooden stirring utensil
- Fine mesh strainer
- Clean glass storage jars
Activating Kefir Grains
Activating kefir grains takes patience and the right conditions. They need care to become active and make great yogurt.
| Activation Stage | Duration | Temperature |
|---|---|---|
| Initial Hydration | 24-48 hours | 68-75°F |
| First Fermentation Cycle | 12-24 hours | 70-75°F |
Fermentation Timeline
Knowing the fermentation steps is crucial for perfect kefir. The process includes:
- Placing kefir grains in milk
- Covering container with breathable cloth
- Letting mixture ferment at room temperature
- Straining grains after desired consistency
“Patience transforms milk into a probiotic powerhouse through the magic of fermentation.” – Kefir Enthusiasts
Pro tip: Consistent temperature and gentle handling are essential for successful kefir production.
Selecting the Right Milk for Your Kefir
Choosing the right milk for your kefir is key. It affects the taste, texture, and nutrition of your homemade drink. Each type of milk can change your kefir-making journey.
Raw milk kefir fans love unpasteurized milk for its deep flavor and probiotics. But, it’s important to get raw milk from safe, clean sources to avoid health risks.
- Cow’s milk: The most common choice for kefir, offering a creamy texture and mild flavor
- Goat’s milk: Provides a tangier taste and is often easier to digest
- Sheep’s milk: Creates a thick, rich kefir with higher protein content
Dairy alternatives open up new options for those who can’t have regular milk. You can try:
- Coconut milk: Creates a tropical-flavored, dairy-free kefir
- Almond milk: Lighter option with nutty undertones
- Oat milk: Provides a creamy consistency similar to traditional milk kefir
“The milk you choose is the foundation of your kefir’s flavor and nutrition.” – Fermentation Experts
Think about your diet, taste, and what milk types are available. Each milk type adds its own special touch to your probiotic drink.
Proper Care and Maintenance of Kefir Grains
Kefir grain care is key to making high-quality, probiotic-rich fermented milk. Your kefir grains are living beings that need gentle care and specific maintenance. This ensures they thrive and keep producing tasty kefir.
Effective Storage Methods for Kefir Grains
Storing kefir grains right is vital for their survival. Here are some important storage tips:
- Refrigerate in fresh milk every 24-48 hours
- Use glass or ceramic containers for storage
- Keep grains at consistent temperatures between 40-50°F
Troubleshooting Common Kefir Grain Issues
Kefir troubleshooting is crucial for keeping grain cultures healthy. Be on the lookout for these common problems:
| Issue | Potential Cause | Solution |
|---|---|---|
| Weak fermentation | Old or stressed grains | Refresh with new milk, reduce fermentation time |
| Slimy texture | Overfermentation | Reduce fermentation duration |
| Unusual smell | Contamination | Clean equipment, use fresh utensils |
Identifying Healthy Kefir Grains
Healthy kefir grains show certain signs:
- Consistent white or cream color
- Cauliflower-like texture
- Active fermentation within 24 hours
“Treat your kefir grains like a living ecosystem, and they’ll reward you with rich, probiotic-packed ferments.” – Fermentation Experts
With the right care, you can have a steady supply of nutritious, homemade kefir. It supports your gut health and adds to your cooking creativity.
Learn how to brine chicken for juicy results and enjoy it with loaded taco salad fries.
Flavoring Your Homemade Kefir Yogurt
Turning plain kefir yogurt into a tasty treat is simple. Kefir flavoring lets you get creative, making your probiotic drink your own. You can mix and match flavors to create something special.
Fruit kefir is a great place to start. Here are some tasty ways to boost your kefir’s flavor:
- Blend in ripe berries like strawberries or blueberries
- Add mashed bananas for natural sweetness
- Mix in diced peaches or mangoes
- Incorporate pureed tropical fruits
Don’t need artificial sweeteners? Try these natural options to sweeten your kefir:
- Drizzle raw honey
- Stir in maple syrup
- Use stevia for a calorie-free option
- Add a touch of cinnamon
“The beauty of kefir is its versatility – your imagination is the only limit!”
Try adding herbs like mint, basil, or lavender for a unique taste. Just remember to add flavors after it’s fermented. This keeps your homemade kefir yogurt full of probiotics.
Common Mistakes to Avoid When Making Kefir
Starting with kefir can be a bit of a challenge. Knowing what might go wrong helps you make tasty, healthy drinks with ease. Let’s look at some key tips to keep your kefir-making process smooth.
Temperature Control Challenges
Temperature is key for good kefir fermentation. Too hot or too cold can harm the good bacteria or slow things down. Here are some important tips:
- Keep the room temperature between 68-85°F for best results
- Avoid direct sunlight or cold drafts
- Choose a consistent, stable place for fermentation
Managing Contamination Risks
Stopping contamination is crucial in kefir-making. Clean tools and careful handling keep your fermentation safe from bad bacteria.
| Contamination Risk | Prevention Strategy |
|---|---|
| Unclean utensils | Sterilize all equipment with hot water |
| Dirty work surface | Sanitize counters before starting |
| Unwashed hands | Always wash hands thoroughly |
Resolving Fermentation Errors
Fermentation mistakes can affect your kefir’s taste and quality. Here are common problems:
- Over-fermentation: Makes the kefir too sour
- Under-fermentation: Results in weak, bland kefir
- Inconsistent fermentation: Happens when conditions change
“Patience and attention to detail are your best tools in kefir troubleshooting.” – Fermentation Expert
By knowing these common mistakes, you’ll get better at making perfect homemade kefir every time.
Tips for Achieving the Perfect Kefir Consistency
Getting the perfect kefir texture is an art that needs attention to detail. It starts with knowing how different things affect its consistency.
Temperature is key for creamy kefir. Warmer places speed up fermentation, while cooler ones slow it down. Aim for a temperature of 68-85°F for the best results.
- Use a thermometer to monitor fermentation conditions
- Keep kefir away from direct sunlight
- Avoid extreme temperature fluctuations
The ratio of milk to kefir grains also matters a lot. For thicker kefir, try these ratios:
| Milk Type | Grain Ratio | Expected Consistency |
|---|---|---|
| Whole Milk | 1:5 | Thick, creamy kefir |
| Skim Milk | 1:7 | Lighter texture |
| Goat Milk | 1:4 | Rich, dense texture |
“Patience is key when developing the perfect kefir texture.” – Fermentation Experts
Fermentation time affects kefir’s thickness. Longer times mean thicker kefir. Try fermenting for 24-48 hours to find your favorite.
Remember, practice makes perfect. Each batch of kefir teaches you more about its unique traits and how to get that creamy kefir you want.
Storing and Preserving Your Homemade Kefir
Keeping your homemade kefir fresh is key to its probiotic benefits. Knowing how to store it right can extend its shelf life. This makes your kefir a healthy and tasty drink.
Refrigeration is the best way to keep kefir fresh. Put your kefir in a clean, sealed glass container in the fridge. This slows down fermentation and keeps it good for up to a week.
- Use airtight glass containers for storage
- Keep refrigerated at 40°F (4°C)
- Consume within 7-10 days for optimal taste and probiotic content
The shelf life of your kefir depends on several things. These include the temperature, the quality of the ingredients, and how it ferments. Here’s a quick guide to help you store kefir the best way:
| Storage Method | Duration | Quality Preservation |
|---|---|---|
| Refrigerator Storage | 7-10 days | Excellent |
| Room Temperature | 24-48 hours | Good |
| Freezing | Up to 3 months | Reduced probiotic activity |
“Proper storage is the key to enjoying the full nutritional benefits of homemade kefir” – Fermentation Experts
Pro tip: Always check for any signs of spoilage before consuming. If your kefir has an off smell, unusual color, or mold, it’s best to throw it away and start over.
By following these storage tips, you’ll have a steady supply of delicious, probiotic-rich kefir. It will support your health and taste great.
FAQs
What are kefir grains and where do they come from?
Kefir grains are a mix of good bacteria and yeasts. They are held together by proteins, lipids, and sugars. These grains come from the Caucasus Mountains and look like cauliflower clusters. They are key for making kefir, a probiotic-rich drink.
How long does it take to make kefir at home?
Making kefir at home takes 24 to 48 hours. This depends on the room temperature and how thick you like it. Warmer temperatures make it ferment faster, while cooler temperatures slow it down.
Can I make kefir with non-dairy milk?
Yes, you can use non-dairy milks like coconut, almond, or soy. But traditional milk is best for the grains. Non-dairy milks might need cow’s or goat’s milk to keep the grains healthy.
How do I know if my kefir has gone bad?
Bad kefir smells very strong and has unusual colors or mold. It should smell tangy and creamy. Fresh kefir has a sour smell and a smooth texture.
What is the difference between kefir and yogurt?
Both are fermented, but kefir has more probiotics and yeasts. Kefir is thinner and better for gut health.
How long can I store kefir grains?
Store kefir grains in milk in the fridge for 1-2 weeks. Freeze or dehydrate them for longer storage. This keeps their cultures alive.
Is homemade kefir safe to consume?
Homemade kefir is safe if made with clean equipment and fresh ingredients. Use sterilized containers and high-quality milk. Keep everything clean during fermentation.
Can children and pregnant women drink kefir?
Kefir is healthy, but pregnant women and parents should check with their doctor first. Most doctors say pasteurized, homemade kefir is safe in small amounts.
How can I tell when my kefir is ready?
Your kefir is ready when it’s thicker, smells tangy, and has curds and whey. It takes 24-48 hours, depending on temperature and taste.
What are some common kefir flavoring options?
You can flavor kefir with fruits, honey, vanilla, cinnamon, or herbs. Add these after straining the grains for a tasty probiotic drink.
Conclusion
Making kefir yogurt at home is more than a fun cooking project. It’s a way to improve your health. You learn to make a drink full of good bacteria that helps your gut and keeps you balanced.
Trying out different milks, mastering fermentation, and finding new flavors are important. Each batch you make helps you get better at making this healthy drink. Remember, practice and patience are key to making great kefir yogurt.
Knowing how to make kefir opens up new ways to eat healthier. The benefits of homemade kefir go beyond taste. They include better digestion, a stronger immune system, and a connection to old food-making ways. See this skill as a long-term way to improve your diet.
Keep exploring and enjoying the world of kefir yogurt. Your effort to learn about fermentation will pay off with tasty, healthy drinks that support your health.


1 thought on “How Do You Make Kefir Yogurt – Simple Step Guide”